
You’ve placed your label order — now what? Understanding the production process helps you plan timelines, anticipate what your printer needs from you, and know when to expect your labels at your door.
Step 1: Order Review and Prepress
Once your order is received, the prepress team reviews your artwork file for technical issues: resolution, color mode, bleed, die line alignment, and font handling. If everything checks out, your job moves to proofing. If issues are found, you’ll be contacted with specific questions or requests for revised files. This is the step where bad artwork causes delays — print-ready files skip ahead quickly.
Step 2: Proof Approval
You’ll receive a digital proof showing exactly how your label will look when printed — layout, text, colors, and die line placement. Review this carefully. Check for typos, missing information, color accuracy, and correct sizing. Your approval is the green light for production — changes after approval may require additional charges or delays.
Step 3: Printing
Your labels are printed on rolls using digital or flexographic presses, depending on quantity and specifications. During printing, quality control checks ensure color consistency, registration accuracy, and material integrity throughout the run.
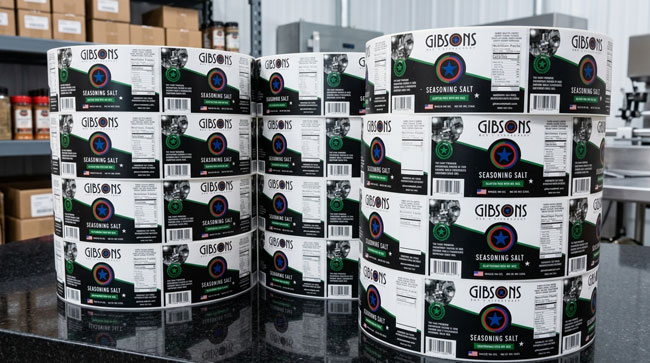
Step 4: Finishing
After printing, your labels go through finishing: lamination or UV coating is applied, and the labels are die-cut to their final shape. The finished rolls are then inspected, counted, and packaged for shipping.
Step 5: Shipping
Labels are shipped on rolls, boxed and padded for protection. Standard ground shipping is typically included at no extra charge. Expedited shipping is available if you need your labels faster.
At LabelSwift, most orders ship within 3 business days of proof approval. Start your order and see estimated delivery dates.