
If you’ve ever submitted artwork to a label printer and been told you need to “add bleed,” you’re not alone. Bleed is one of the most frequently misunderstood — and most important — concepts in print design. Getting it wrong can delay your order or result in labels with unsightly white edges.
What Is Bleed?
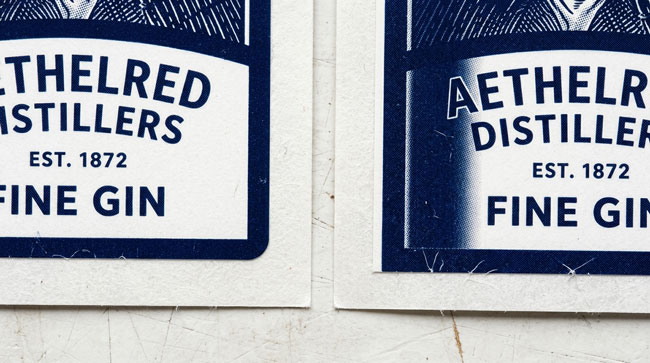
Bleed is the portion of your artwork that extends beyond the final cut line of the label. It’s extra image area that will be trimmed off during production. Bleed exists as a safety margin to account for the tiny, unavoidable variations in where the die cuts the label.
Why Is It Necessary?
Label printing involves cutting individual labels from a continuous roll of printed material. If your artwork stops exactly at the intended edge of the label and the cut shifts even slightly, you’ll see a thin white line along the edge where unprinted material is exposed. Bleed eliminates this problem by ensuring that printed artwork extends past the cut line in every direction.
How Much Bleed Do You Need?
The standard bleed for labels is 1/16″ (0.0625″) on all sides. This means if your finished label is 3″ x 2″, your artwork file should be 3.125″ x 2.125″ with the extra 1/16″ of design extending beyond the cut line on every edge.
What Goes in the Bleed Area?
Simply extend your background color, pattern, or image into the bleed zone. Don’t place any text, logos, or critical information in the bleed area — it will be cut off. The bleed is sacrificial artwork that exists only to prevent white edges.
For full artwork setup specifications, visit our artwork specs page.